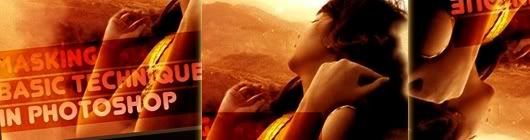
With this simple and easy technique, we will process an ordinary photo into a work of stunning. Masking is very useful because it does not destruct or alter the original image.
I prefer to use masking rather than eraser tool, because masking effect doesn't destruct the original photo, beside it can be easily remove (the masking effect) if someday there will be a change or revision).
You can download the Photo Stock, paper texture, watercolor brush1 and brush2 that we will use. I will prepare the documents you can download at the end of the post.
So, if you're ready all, let's get started!
Step 1
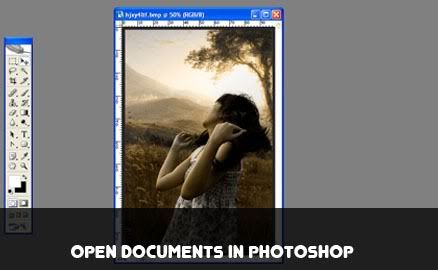
Open documents in Photoshop
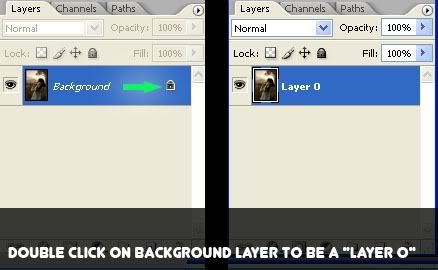
Then change the "Background" layer which is locked into "Layer 0" by Double Click on it.
Step 2
This is the core of this tutorial. Change the name "Layer 0" to "Picture".
Create a new layer (layer 1) below the "Picture" layer and then Right Click on "Picture" layer and select Create Clipping Mask.
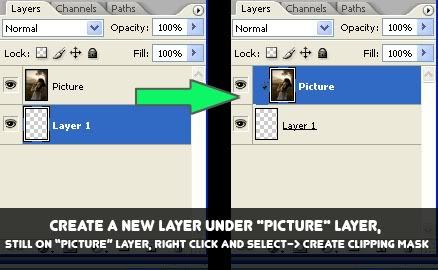
The Picture will be lost. Dont worry :) because it is. Go to the next steps.
Step 3
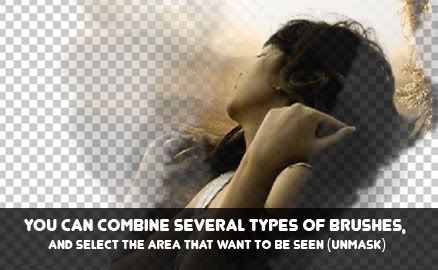
Time to experiment! Click on layer one, and start using the brush you've downloaded earlier. By applying the brush on "layer 1" , so the image will begin to appear (this can be called Unmask).
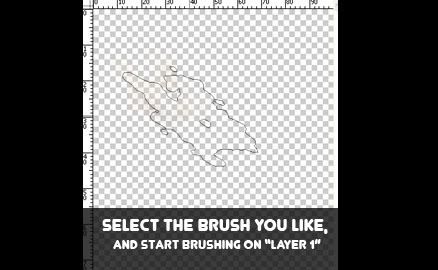
Do not forget to change the name of "Layer 1" to "brush".
Step 4
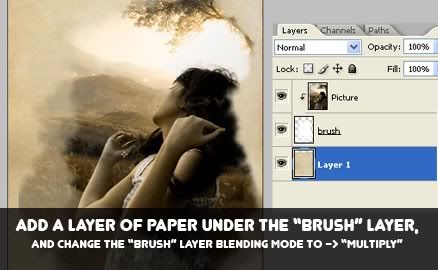
Use paper textures you've downloaded as the background on the work. This is a personal choice, you can use a background texture and other according to your own tastes.
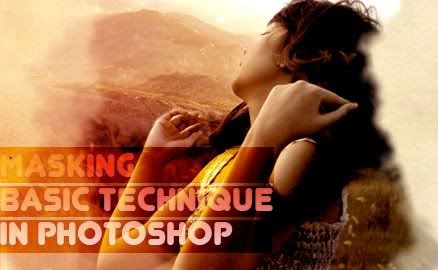
we're done! Quick and easy isn't it?
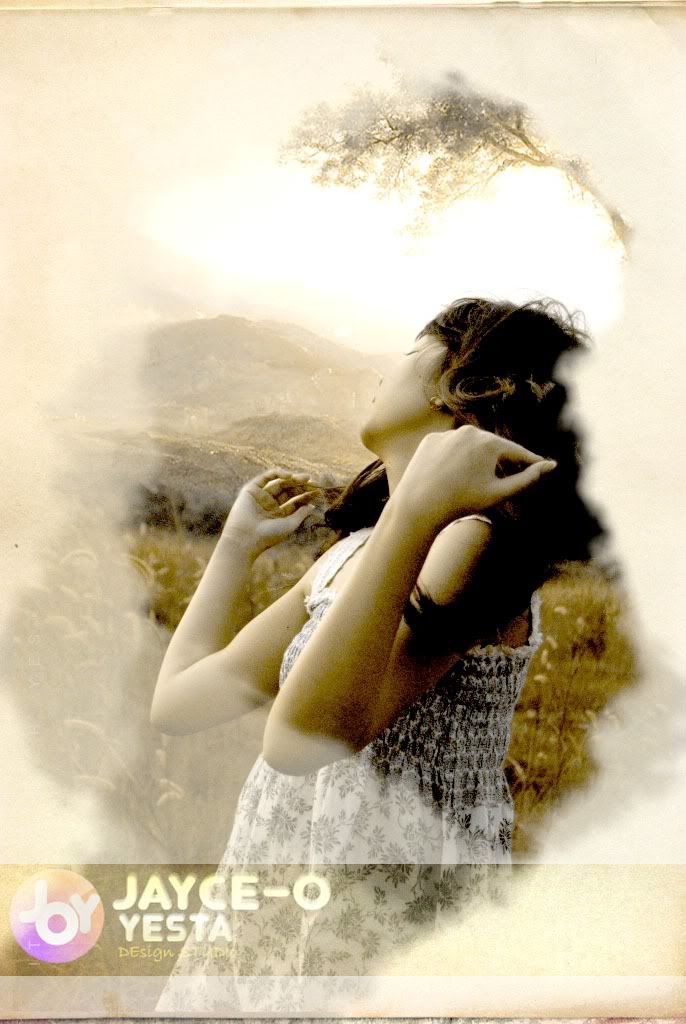
arranged a little Brightness / Contrast and level on the texture of paper and image. And also reduce the saturation on the photo, the result looks like this.
5 Comments
Hey, Friend, how are you doing?
ReplyThanks for leaving a comment at my latest post about prizelive payment. And Thanks for sharing this Photoshop technique with us. Really a good tutorial. Hope you doing well with your design business and have a nice day! Cheers :)
An interesting article, thankks for posting it.
ReplyGa ada tutor yang pake bahasa Indonesia ya?
Reply^_^
tapi keren juga nih blog.
Tutorial photoshop yang awesome..
Cool.. amazing..
waw.. that's nice :D I'll try it. I need this trick to edit photos and pictures ^_^
ReplyColor channels tell how much of each color is in the image. An RGB image like this photo will contain 3 seperate color channels, one indicating the amount of Red, one for Green and one for Blue. White in a channel means that the color value is full (255), and black is empty (0).
ReplyThanks